


21/03/2015, 02:05
(Questo messaggio è stato modificato l'ultima volta il: 21/03/2015, 02:15 da Ivan.)
Di cosa si tratta?
nginx (pronunciato "engine x") è un webserver, un software che, detto in parole povere, permette di creare un sito web sul Raspberry. PHP è un'estensione che permettte ad nginx di elaborare anche le pagine PHP (acronimo (ricorsivo) di PHP: Hypertext PreProcessor, un linguaggio di programmazione web)
Bello... ma abbiamo già Apache!
La peculiarità di nginx che lo rende perfetto al nostro piccolo Raspberry è che è molto più leggero e questo è un gran vantaggio, visto che sia a livello di CPU che di RAM il Raspberry è limitato.
Installazione
L'installazione è divisa in due parti: l'installazione di nginx e l'installazione di PHP.
nginx
Apriamo un terminale e digitiamo i seguenti comandi, controllando sempre l'output e rispondendo ad eventuali richieste dei programmi
Ok, nginx è installato. Potete visualizzare il sito appena creato usando un browser e andando all'indirizzo
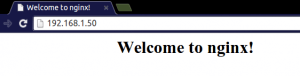
N.B.: la cartella in cui sono presenti i file serviti da nginx è /usr/share/nginx/www
Tuttavia per poter modificare i file ivi presenti, dovete prima dare i seguenti comandi
php
Come per nginx, installiamo il relativo pacchetto:
Ora dobbiamo attivare il supporto a PHP dentro nginx, per fare questo dobbiamo per prima cosa modificare un file. Usando l'editor nano diamo il seguente comando:
Otterrete la seguente schermata
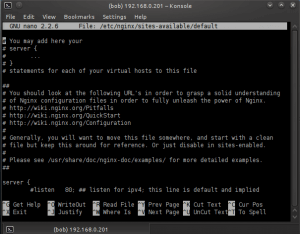
Scorrete verso il basso (con le frecce o col tasto PagGiu) fino a incontrare la riga che recita
Sostituitela con la riga seguente (occhio al punto e virgola finale):
Ora scorrete ancora e individuate le seguenti righe:
Dovete togliere il simbolo di "#" iniziale alle righe evidenziate in blu. Il risultato deve essere il seguente:
Mi raccomando togliete il "#" anche alla parentesi graffa finale!
Ora riavviamo il webserver nginx col comando
Creiamo una pagina PHP di esempio
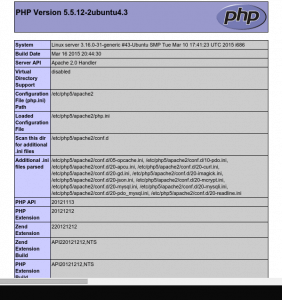
Adesso non ci resta che testare la nostra installazione. Aprite un browser e digitate
Dovreste ottenere una pagina simile alla seguente (ovviamente con contenuto diverso, essendo questa la pagina info di un server Ubuntu con Apache2)
bobvann
nginx (pronunciato "engine x") è un webserver, un software che, detto in parole povere, permette di creare un sito web sul Raspberry. PHP è un'estensione che permettte ad nginx di elaborare anche le pagine PHP (acronimo (ricorsivo) di PHP: Hypertext PreProcessor, un linguaggio di programmazione web)
Bello... ma abbiamo già Apache!
La peculiarità di nginx che lo rende perfetto al nostro piccolo Raspberry è che è molto più leggero e questo è un gran vantaggio, visto che sia a livello di CPU che di RAM il Raspberry è limitato.
Installazione
L'installazione è divisa in due parti: l'installazione di nginx e l'installazione di PHP.
nginx
Apriamo un terminale e digitiamo i seguenti comandi, controllando sempre l'output e rispondendo ad eventuali richieste dei programmi
Codice:
$ sudo apt-get install nginx
$ sudo /etc/init.d/nginx start
Ok, nginx è installato. Potete visualizzare il sito appena creato usando un browser e andando all'indirizzo
Codice:
http://<indirizzo ip del Raspberry>/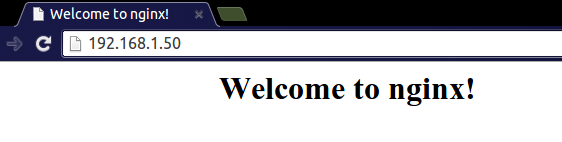
N.B.: la cartella in cui sono presenti i file serviti da nginx è /usr/share/nginx/www
Tuttavia per poter modificare i file ivi presenti, dovete prima dare i seguenti comandi
Codice:
$ cd /usr/share/nginx/
$ sudo chown -R pi:pi www
$ sudo chmod -R 775 www
php
Come per nginx, installiamo il relativo pacchetto:
Codice:
$ sudo apt-get install php5-fpmOra dobbiamo attivare il supporto a PHP dentro nginx, per fare questo dobbiamo per prima cosa modificare un file. Usando l'editor nano diamo il seguente comando:
Codice:
$ sudo nano /etc/nginx/sites-available/defaultOtterrete la seguente schermata
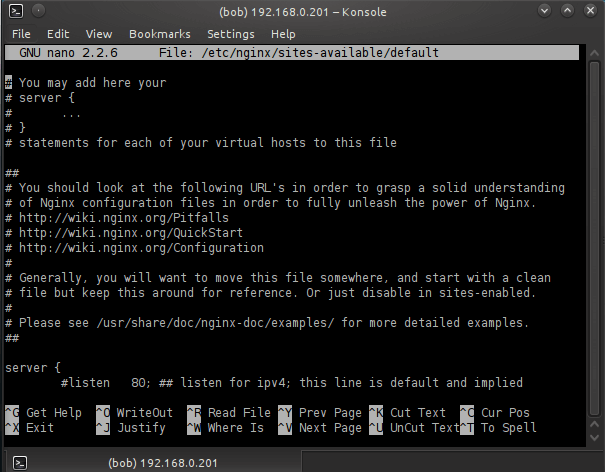
Scorrete verso il basso (con le frecce o col tasto PagGiu) fino a incontrare la riga che recita
Codice:
index index.html index.htm;Sostituitela con la riga seguente (occhio al punto e virgola finale):
Codice:
index index.php index.html index.htm;Ora scorrete ancora e individuate le seguenti righe:
Codice:
# pass the PHP scripts to FastCGI server listening on 127.0.0.1:9000
#
# location ~ \.php$ {
# fastcgi_split_path_info ^(.+\.php)(/.+)$;
# # NOTE: You should have "cgi.fix_pathinfo = 0;" in php.ini
#
# # With php5-cgi alone:
# fastcgi_pass 127.0.0.1:9000;
# # With php5-fpm:
# fastcgi_pass unix:/var/run/php5-fpm.sock;
# fastcgi_index index.php;
# include fastcgi_params;
# }
Dovete togliere il simbolo di "#" iniziale alle righe evidenziate in blu. Il risultato deve essere il seguente:
Codice:
# pass the PHP scripts to FastCGI server listening on 127.0.0.1:9000
#
location ~ \.php$ {
fastcgi_split_path_info ^(.+\.php)(/.+)$;
# # NOTE: You should have "cgi.fix_pathinfo = 0;" in php.ini
#
# # With php5-cgi alone:
# fastcgi_pass 127.0.0.1:9000;
# With php5-fpm:
fastcgi_pass unix:/var/run/php5-fpm.sock;
fastcgi_index index.php;
include fastcgi_params;
}
Mi raccomando togliete il "#" anche alla parentesi graffa finale!
Ora riavviamo il webserver nginx col comando
Codice:
$ sudo /etc/init.d/nginx restartCreiamo una pagina PHP di esempio
Codice:
$ echo "<?php phpinfo(); ?>" > /usr/share/nginx/www/informazioni.phpAdesso non ci resta che testare la nostra installazione. Aprite un browser e digitate
Codice:
http://<indirizzo ip del Raspberry>/informazioni.phpDovreste ottenere una pagina simile alla seguente (ovviamente con contenuto diverso, essendo questa la pagina info di un server Ubuntu con Apache2)
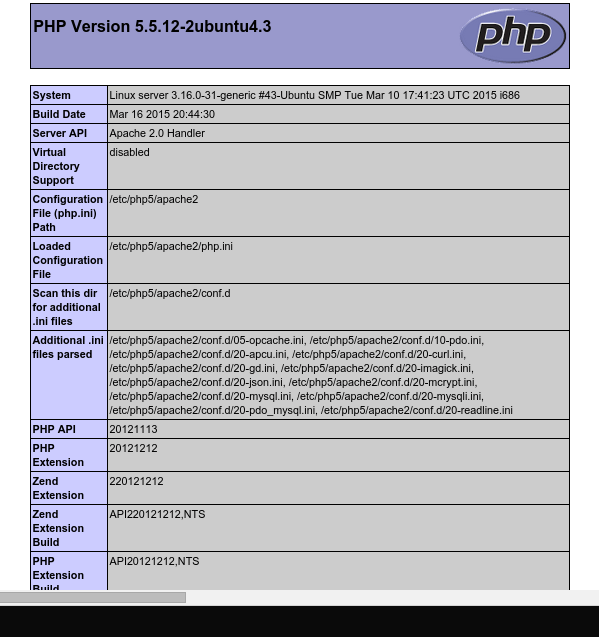
bobvann



 Facebook
 Twitter
 Google +
 Youtube
 Telegram